This page describes the minimal steps to get a working Advanced MAME Launcher installation. In the bare minimum installation many features and options will not be available but it is a good start if you have never used MAME before.
Table of Contents
Recommended directory layout
Notes for Windows users
Configuring AML
Setting up AML
Getting started with AML
Recommended directory layout
This is the recommended MAME directory layout. You have to create all the directories yourself, AML does not create any directory automatically.
| Directory | Notes |
|---|---|
/home/kodi/AML-ROMs/ |
Place MAME arcade ROM ZIP and BIOS ZIP files here |
Place your compressed ROMs ZIP archives in the /home/kodi/AML-ROMs/ directory.
Remember to update your mame.ini configuration file to point to the correct directories where you have placed your ROMs, otherwise MAME won’t work at all.
# File /home/kodi/.mame/mame.ini
#
# CORE SEARCH PATH OPTIONS
#
homepath                  .
rompath                   /home/kodi/AML-ROMs
Notes for Windows users
The instructions in this guide focus on Linux because it is the operating system used for development and testing. Windows users just need to transform the Linux paths and filenames to configure their setup. For example:
| Linux path | Windows path |
|---|---|
/home/kodi/AML-ROMs |
E:\AML-ROMs |
Configuring AML
Open the AML addon settings and go to the Paths tab. For the basic setup you will need to configure the MAME executable and the ROM path.
Click on the MAME executable box and browse to the location of the MAME executable. In Linux typical locations are /usr/bin/games/mame or /home/kodi/bin/mame.
Click on the ROM path box and browse to the ROM ZIP directory /home/kodi/AML-ROMs.
Once the MAME executable and the ROM path have been configured, click on the OK button.
Setting up AML
In Kodi, browse and open AML and you will be presented with the AML root window.
In the AML root window select any item, open the context menu (default key is C), and select Setup plugin. Then, execute All in one step (Extract, Build and Scan). Depending of your computer, this process will take between 5 and 20 minutes.
If you like the technicalities, first AML extracts the MAME XML database from MAME executable and counts the number of MAME machines. Then, the MAME XML is converted into several JSON databases, unneeded information is stripped out to boost performance, and several lists, like parent/clone, are generated. Finally, your ROM path will be scanned so AML is aware of the ROMs you have or not.
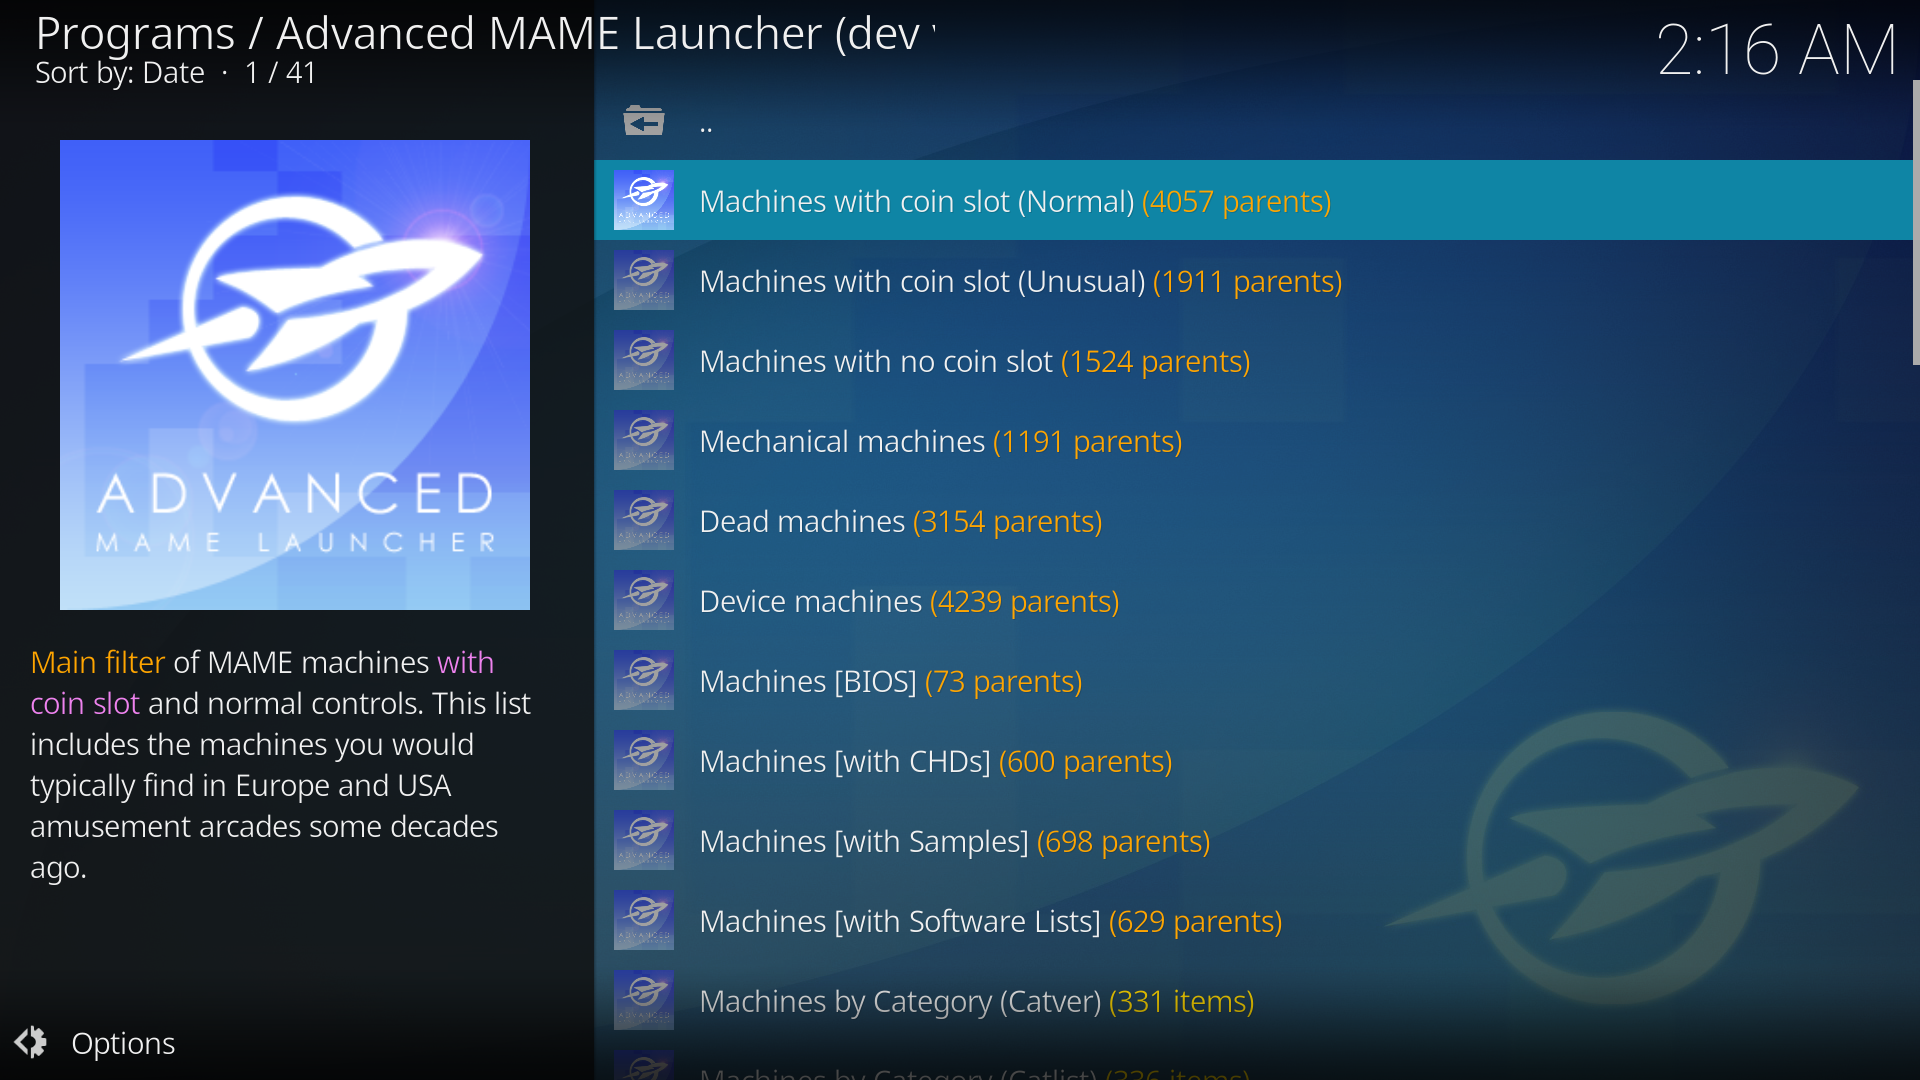
Getting started with AML
Once the databases have been built, you can start browsing all the MAME machines and launch your games. However, since you have not configured the DAT/INI files some of the filters in the root windows will not be available. MAME machines will not have any artwork displayed and the Software List browser will not be available.
For more detailed instructions about AML usage head to Browsing MAME machines.
If you feel adventurous, then go to Getting started with all bells and whistles and configure some of the optional stuff to enrich you AML experience.